

by Victor Soares
Tips for Shooting Low in the Field
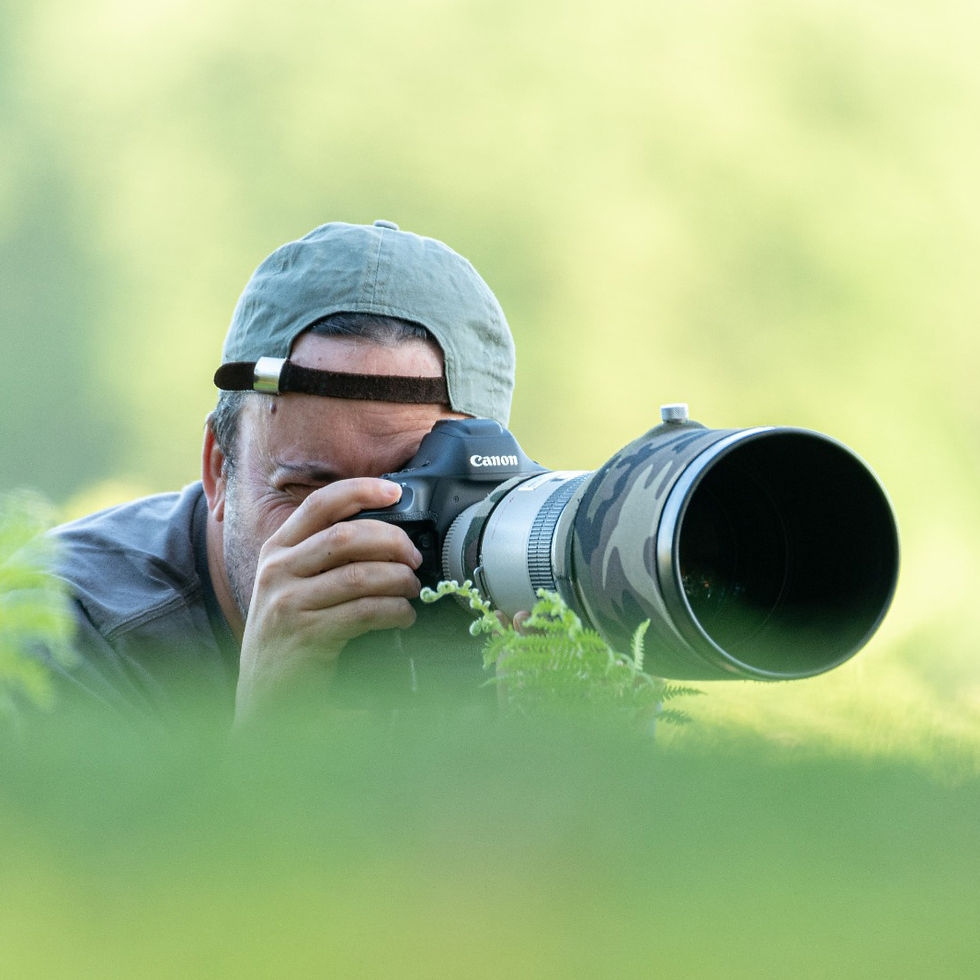
1. Use a right-angle viewfinder or flip-screen to save your neck and back when shooting prone.
When photographing at ground level, the perspective you achieve can transform an image, emphasising eye contact, and immersing viewers in the subject’s world. I have spoken at length as to why this perspective is so important.
However, lying flat for extended periods can strain your neck, shoulders, and spine, quickly turning creativity into discomfort. A right-angle viewfinder (see below) or a camera with a flip or articulating screen allows you to maintain that low perspective without contorting your body. With these tools, you can compose thoughtfully while keeping an ergonomic posture, especially important during long hours in the field. Comfort also helps you stay patient, which is a crucial asset when waiting for wildlife behaviour or perfect light.
Also, these tools allow you to place your camera where you wouldn't want to be placing your head, allowing you to get very close to a water surface or on the ground without leaving the security of your safari vehicle.
A right-angle viewfinder is particularly useful for DSLR users, as it attaches directly to the optical viewfinder and allows you to look down rather than straight ahead. For mirrorless shooters, an adjustable LCD screen serves a similar purpose, enabling you to frame and review shots easily from ground level.


2. Carry a beanbag or low-angle tripod for stability close to the ground.
When working at ground level, even the smallest camera movement can blur an otherwise perfect shot. A beanbag or a low-angle tripod provides solid support and helps you shoot sharp, professional-quality images while maintaining flexibility in uneven terrain. Beanbags are particularly practical because they can be moulded to any surface giving you a sturdy base that absorbs vibrations.
Tip: when traveling, only take the bag itself with out the "beans", then fill it up with rice or sand when at your destination - this will save you on carry-on weight enforced by the airlines.

A low-angle tripod, on the other hand, is ideal when you need precision control over composition or when shooting with heavier lenses. Reversing the column on a standard tripod can help you get to those very low angles.

3. Watch your background and horizon to make sure they complement your subject, not compete with it.
Backgrounds can make or break a wildlife image. Even the most captivating subject can lose impact if the background is cluttered, distracting, or visually confusing. Paying attention to what lies behind your subject ensures that every element in the frame supports the story you want to tell. Start by scanning for distractions such as bright patches, tangled branches, or man-made objects that draw attention away from the animal. Usually, a small shift in your own angle or position can transform chaos into simplicity. Be aware of where you are, what's around you and what distractions are likely.
Equally important is the horizon. Keeping your horizon straight is (usually) key, since a tilted horizon subconsciously unsettles viewers and detracts from the image’s professionalism. Also be aware of where your horizon "cuts" your subject and position this appropriately. It's pointless getting low only to have a distracting horizon cut straight through your subject's head!
4. Stay mindful of your environment and don’t get too close or disturb wildlife.
I cannot stress these two things enough with wildlife photography - ethics and patience!
Wildlife photography should always prioritise respect for the subjects and their habitats. Getting the shot is never worth causing stress or altering natural behaviour. Approach every scene with sensitivity, observe quietly and move slowly. Be patient. Any animal responds to a situation with a flight or fight response. In many cases any alarm will get the subject into flight mode and they will dissapear from the opportunity to photograph them. Use longer lenses to get closer and maintain a safe distance. Animals that feel threatened may abandon feeding, breeding, or resting activities, all of which can have long-term effects on their wellbeing. Signs of distress include alarm calls, nervous glances, or sudden movement away from you, all of which are cues to back off (cautiously) immediately.
Beyond ethics, keeping your distance also results in more authentic photographs. When animals behave naturally, your images tell a truer, more powerful story of the wild. Practicing patience and restraint will earn you better images over time because animals become more comfortable in your presence. Ultimately, the best wildlife photographers are quiet observers, capturing moments without taking anything away from the world they are documenting.

5. Protect your gear with waterproof covers or ground mats.
Shooting at low angles often means your camera is exposed to moisture, dust, and dirt, all of which can damage sensitive equipment. Waterproof covers, rain sleeves, or even a simple plastic bag can make a huge difference in protecting your camera and lens from rain, dew, or splashes. There is a range of goods available from camera stores or even places like Amazon that will provide you with cover. Here are a few:

6. Experiment with slightly below and slightly above eye level to find the most natural composition.
Perspective defines how a viewer connects with your subject. Shooting exactly at eye level often creates intimacy and empathy, but exploring just above or below can produce unique emotional effects. A slightly lower angle can make your subject appear more majestic, powerful, or vulnerable, while a subtle elevation can reveal environment and context, providing a storytelling layer. The key is to experiment by moving a few centimeters at a time and observing how the composition changes through your viewfinder. Sometimes the difference between a good shot and a great one is no more than the height of your camera. You also develop a stronger sense of learning how shapes, lines, and light interact within your frame.
Whatever it is that you experiment with, know this - being at the animals level engages your viewer and almost makes them feel like "they were there" which is ultimately what you want to convey ... a connection.
Take care
Vic
Travel With Us

Travel With Us


Photography